
 By
By 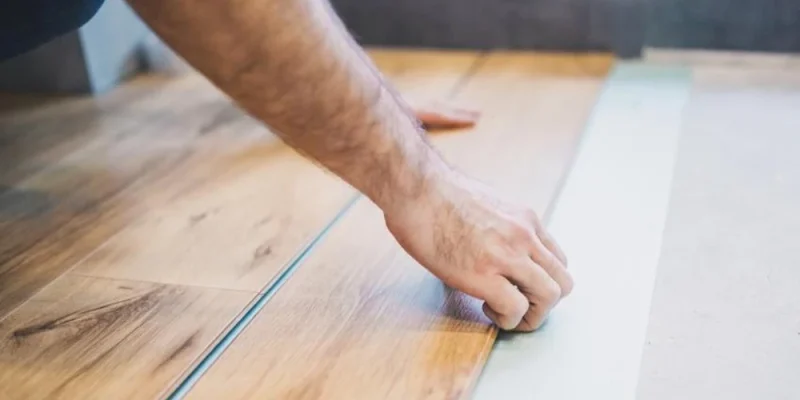
Montreal homeowners craving the beauty of hardwood and the resilience of modern materials have driven a quiet revolution in flooring. SPC click planks are at the center, promising straightforward installation, waterproof toughness, and eye-catching style, all without a hefty price tag or weekend-wrecking labor.
Evolution of SPC Vinyl Flooring and Its Popularity
SPC (Stone Plastic Composite) vinyl flooring didn’t emerge overnight. Early vinyl floors were prized for being affordable and water-resistant, but they lacked dimensional stability and realistic textures. Enter SPC core technology, which fuses a limestone-based core with durable vinyl layers. The result? Floors that are rigid yet forgiving, immune to warping from moisture or Montreal’s temperature swings.
What really set SPC apart was the advent of click planks. Instead of glue or nails, these planks slot together with a gentle tap. No mess, no fumes, just fast results. As Montrealers sought hassle-free renovation projects, SPC click systems surged in popularity, especially for condos, basements, and busy family homes.
Preparing for Your SPC Vinyl Flooring Installation
Preparation starts long before the first plank hits the floor. The success of your project depends on evaluating your space and gathering the right gear.
Assessing Your Space and Subfloor Conditions
A flawless finish begins with a stable base. Is your subfloor concrete, plywood, or even existing tile? Minor imperfections are fine, but significant dips or humps will show through. Fix them now, or risk bouncy, uneven planks later.
Tools and Materials You’ll Need
– Utility knife or laminate cutter
– Tape measure and pencil
– Spacers (for expansion gaps)
– Rubber mallet and tapping block
– Level
– Vacuum or broom
– Underlayment (unless your planks have it pre-attached)
Selecting the Right SPC Click Planks and Underlayment
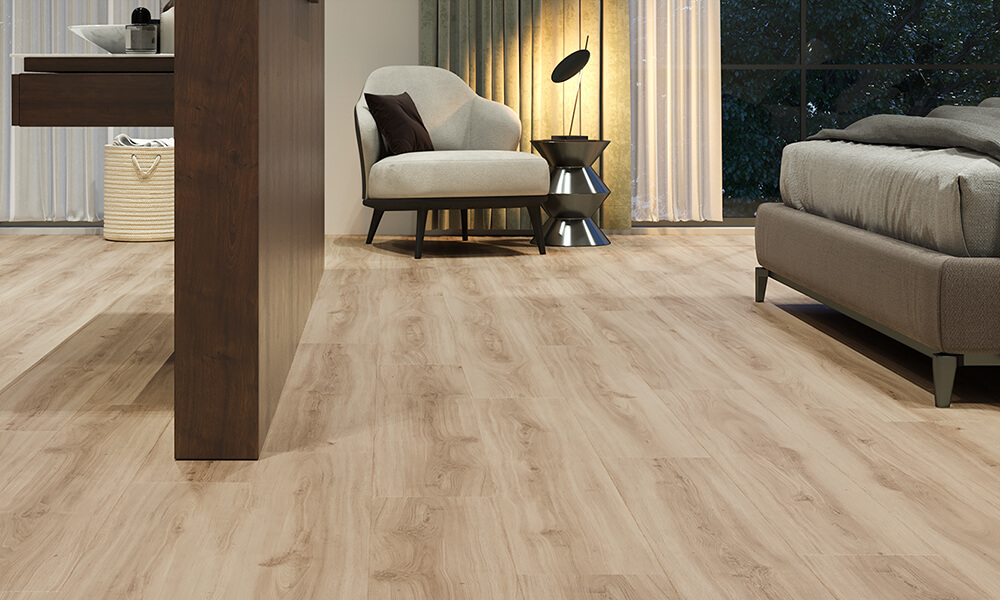
SPC planks come in a rainbow of tones and a variety of thicknesses (typically 4.5mm to 6.5mm). Montreal’s best-sellers often include an integrated underpad for added comfort and sound insulation. For spaces where noise is a concern (think condos or upstairs bedrooms), consider a premium underlayment roll for a quiet, cushioned feel.
Step 1: Acclimating and Inspecting Your SPC Planks
SPC click planks are engineered for dimensional stability, but a quick acclimation is smart. Stack your boxes flat in the installation room for 24-48 hours. This prevents surprises when the planks expand or contract after installation.
Before installation, inspect each plank. Check for surface defects, and sort by shade to create a natural, appealing floor pattern.
Step 2: Subfloor Preparation Techniques
No shortcuts here, the smoother your subfloor, the better your results.
– Cleaning and Leveling: Remove dust, debris, and old adhesives. Use a long level to spot high or low areas, then sand or patch as needed.
– Moisture Testing: For concrete, a simple moisture meter can save future headaches. If levels are too high, resolve this before proceeding.
– Underlayment: Unroll your underlayment perpendicular to plank direction. Overlap seams and tape them to prevent shifting.
Step 3: Understanding the Click-Lock Installation System
Each SPC plank features a specialized tongue-and-groove edge. The magic happens when you angle one plank into another, drop it flat, and tap gently until it locks. This method prevents water from seeping between seams and makes DIY installations accessible to nearly anyone.
Tight spaces require patience. Around corners, door jambs, and vents, dry-fit pieces first, then cut to fit using your utility knife or a jigsaw.
Step 4: Step-by-Step Installation Process
1. Lay spacers along the walls to maintain a 1/4″ expansion gap.
2. Start in a corner. Align the first row with the straightest wall, clicking planks end to end.
3. For the second row, stagger joints at least 6 inches from the first row to mimic real wood and increase strength.
4. Angle each plank into the row before, press flat, and tap gently. Avoid forcing planks; if one resists, double-check for debris in the groove.
5. For the final row, measure and cut planks lengthwise for a snug fit.
Step 5: Finishing Touches for a Professional Look
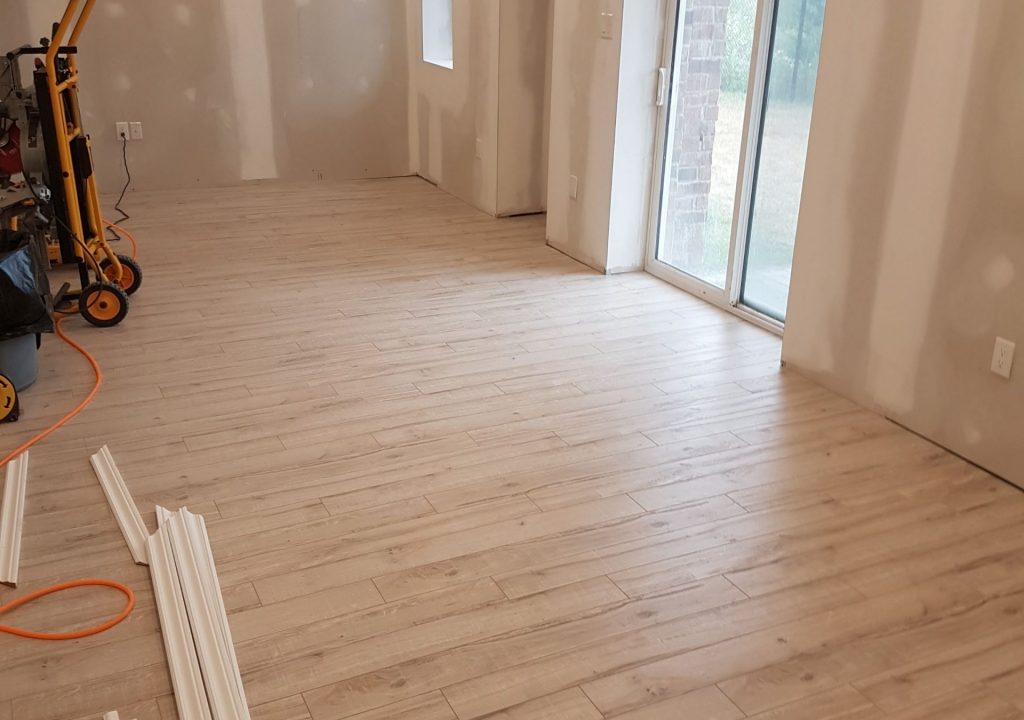
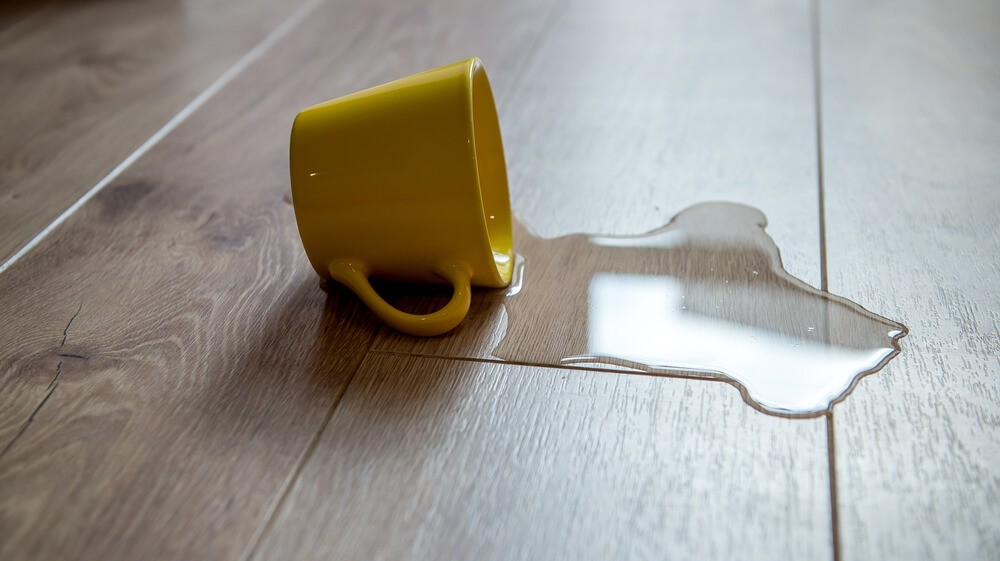
Add matching moldings, stair nosings, and transition strips to cover expansion gaps and create a seamless flow between rooms. For daily care, sweep or vacuum regularly and clean up spills quickly. The stain-resistant surface stands up to kids, pets, and muddy Montreal boots with little fuss.
Common Installation Challenges and How They’ve Been Overcome
Uneven subfloors and click-lock damage are the main speed bumps in DIY installations. Always level subfloors and use a tapping block to protect the tongue-and-groove edges. Never use a hammer directly on the plank edge; one careless blow can ruin the locking mechanism.
Future Trends in SPC Flooring Installation
Montrealers are seeing advancements in click systems that allow even faster, tool-free installations. Eco-friendly options are also expanding, with recycled materials and green manufacturing making waves throughout the industry. As technology evolves, expect SPC Vinyl flooring to become even more versatile and sustainable.
A stunning new floor is within reach, and with the right preparation and these installation techniques, you can lift any room from tired to timeless in a weekend.


Comments